
How to start playing the Native American Flute?
Assuming you’ve already a purchased Native American Flute in your hands, follow these few hints to get you started well with this instrument:
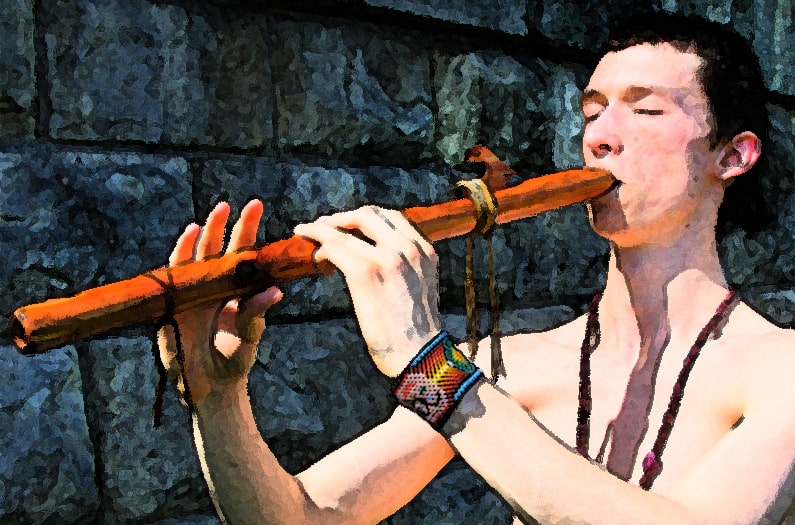
1. Arranging hands.
Suggested hand placement depends on whether you are right-handed or left-handed. Right-handed people usually keep their left hand on top and their right hand on the bottom. Left-handed people put their hands upside down.
The 3 main fingers of each hand should cover the 3 holes – index, middle and ring finger.
2. Holes – 5 or 6?
Only 5 holes were made in old, traditional Native American Flutes. Currently, 6-hole flutes are more often made and we are also into this. It adds more possibilities as you can play more musical scales.
Therefore, to play the traditional scale, which for these flutes (NASF) is a minor pentatonic scale, you must keep the third hole from the top always covered by the ring finger. Once you gain the skill of navigating the traditional scale, you can explore other alternative scales using the 6th hole.
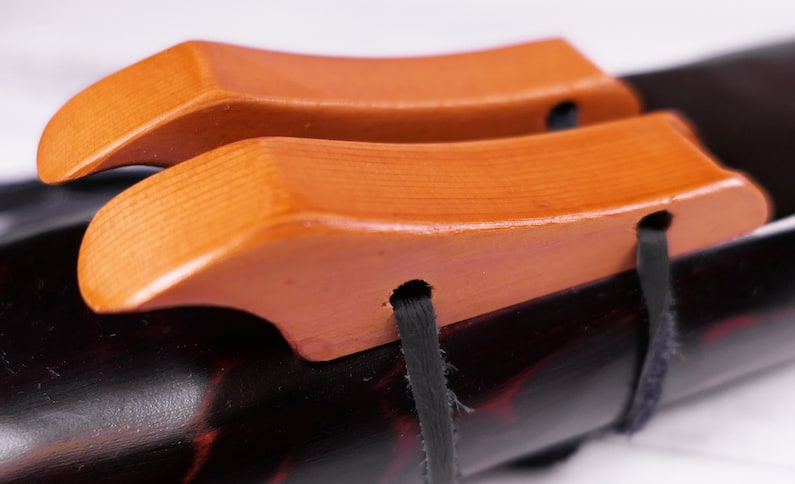
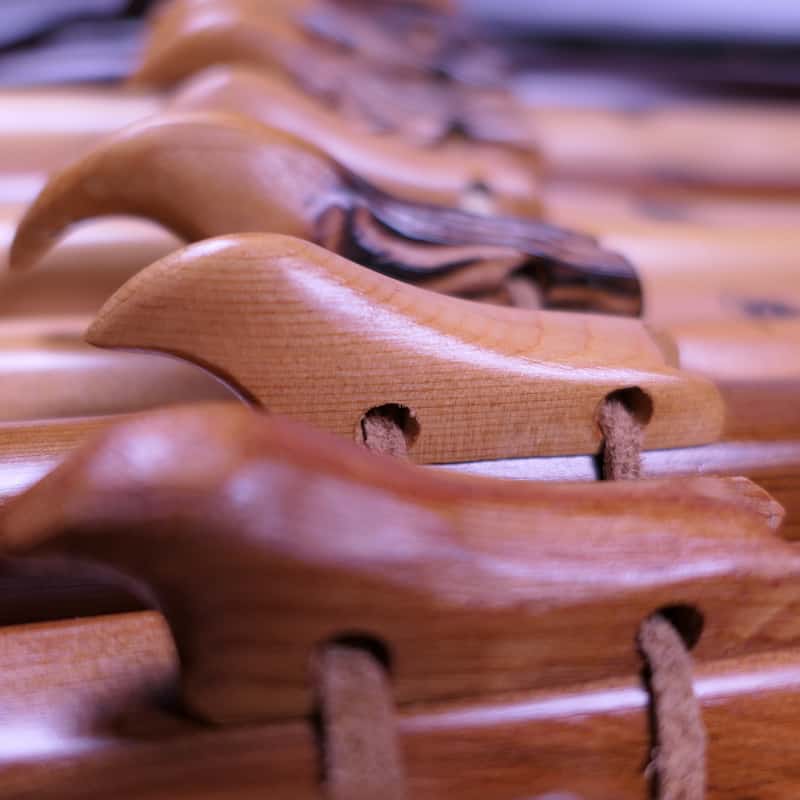
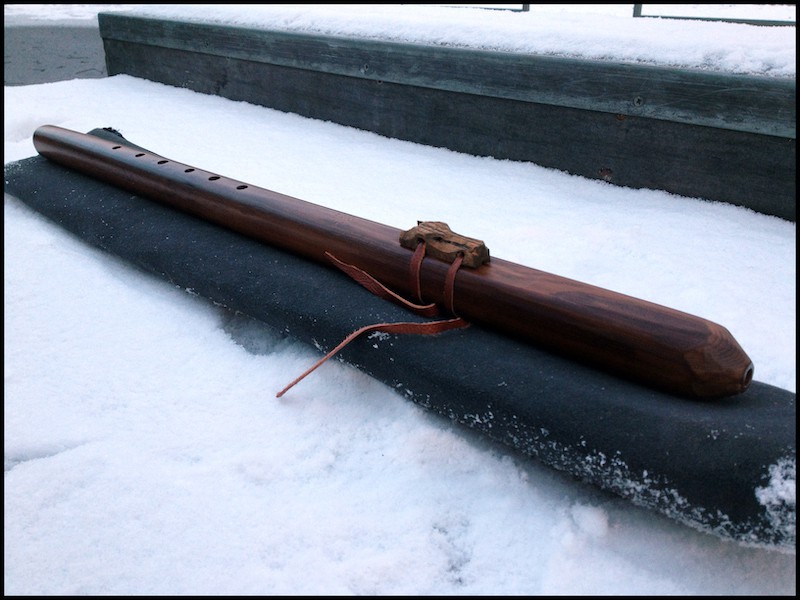
3. Setting “bird”, “block”.
Thebird or block is the name we use for the figurine at the top of the flute. It is responsible for the correct production of the flute’s sound. Its setting is responsible for the flow and air pressure between the slow air chamber and the sound chamber.
Set it so that its end is exactly on the edge of the hole that creates the sound (True Sound Hole). Sometimes to refine the lowest sound, with all covered holes we can move the block slightly (max 1mm) towards the mouthpiece.
After properly placing the block, we tie the strap tightly to immobilize the block and avoid air escaping from the sides. We suggest tying the strap single time so that it is easier to tighten it before each play.
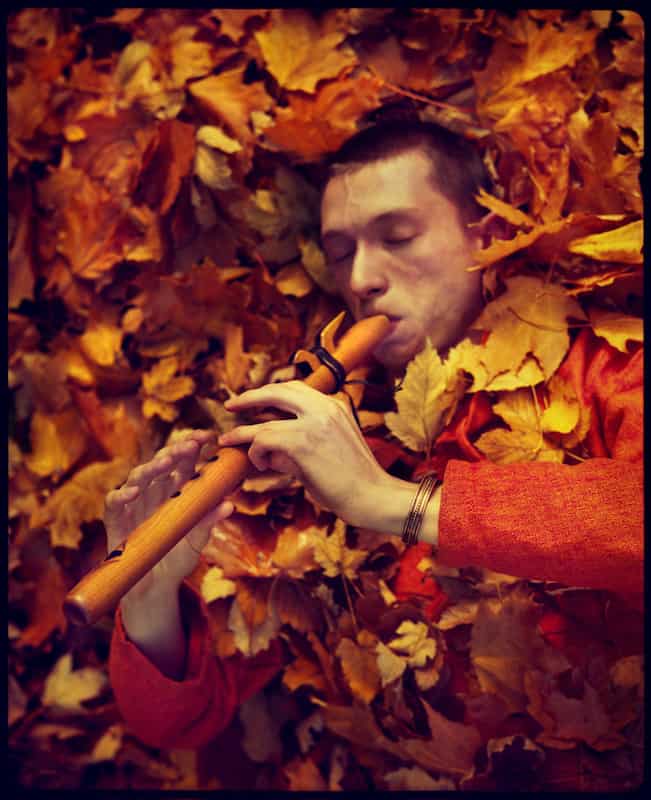
4. First sounds.
Holding the third hole covered from the top, we begin playing by blowing air into the flute and gradually covering the holes from top to bottom one by one. Higher sounds (less covered holes) require more air pressure than lower sounds. Therefore, if we want to find the sound we want, we regulate the pressure of our air.
A common cause of squeaks and unclean sounds at this stage is the inaccurate covering of the holes, so we suggest playing in front of the mirror to see if your fingers are lying properly.
5. Playing the scale
When we get the first clear sounds, we can start playing the pentatonic scale. We move up and down the flute covering and uncovering our fingers one by one as if we were walking on a ladder. One comes out very easily, others need more time to master. It is important not to be discouraged and train persistently, because in the end once we get started it is an instrument with a very graceful sound :-)


For more information on how to play the Native American Flute for beginners and intermediates, see the video course we available in our store
If you have any questions or doubts, please CONTACT US!
Take a look at the store and choose a Native American Style Flute for yourself
Good luck!
Tommy Harevis